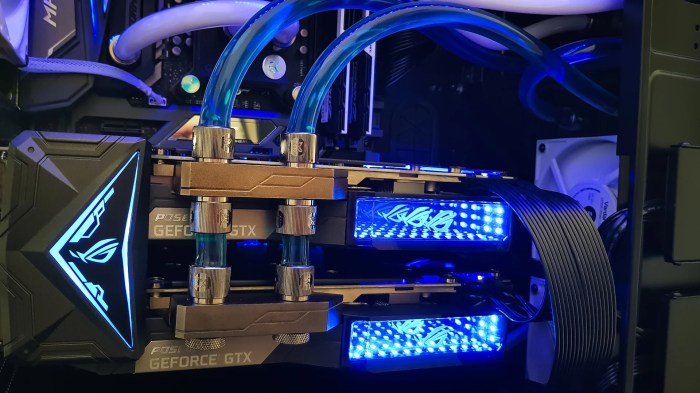
Testout 3.3.7 choose and install a motherboard – Embark on a comprehensive journey into the world of motherboards with TestOut 3.3.7: Choose and Install a Motherboard. This definitive guide empowers you with the knowledge and skills to navigate the complexities of motherboard selection, ensuring compatibility, and executing a seamless installation process.
Delving into the intricacies of motherboards, we unravel their essential components, explore their diverse types, and guide you through the critical criteria for selecting the perfect motherboard for your system. Our step-by-step installation instructions provide a clear roadmap, empowering you to confidently handle and secure your motherboard within the computer case.
Identify the Key Components of a Motherboard

A motherboard is the central component of a computer system that connects all the other components, such as the processor, memory, storage, and peripherals. It provides the electrical pathways and communication channels that enable these components to work together.
The essential components found on a motherboard include:
- CPU socket: The socket where the processor is installed.
- Memory slots: The slots where the memory modules are installed.
- Expansion slots: The slots where expansion cards, such as graphics cards and sound cards, can be installed.
- Storage connectors: The connectors where storage devices, such as hard drives and solid-state drives, are connected.
- Power connectors: The connectors where the power supply is connected to the motherboard.
- BIOS chip: The chip that stores the basic input/output system (BIOS) firmware, which is responsible for initializing the hardware and booting the operating system.
Motherboards are available in different types, each with its own set of features and compatibility requirements. The most common types of motherboards are ATX, microATX, and mini-ITX. ATX motherboards are the largest and most common type, while microATX and mini-ITX motherboards are smaller and more compact, making them ideal for smaller builds.
Research and Select a Compatible Motherboard
When selecting a motherboard, it is important to consider the following criteria:
- Socket type: The socket type must match the type of processor that you plan to use.
- Chipset: The chipset determines the features and capabilities of the motherboard, such as the number of expansion slots and storage connectors.
- Expansion slots: The number and type of expansion slots available will determine the types of expansion cards that you can install.
- Form factor: The form factor of the motherboard must match the size of the computer case that you are using.
Once you have considered these criteria, you can begin to research specific motherboards. There are many reputable sources of information and reviews for motherboards available online. You can also consult with a computer technician or sales representative to get help selecting the right motherboard for your needs.
Physical Installation of the Motherboard

To physically install a motherboard, follow these steps:
- Open the computer case and remove the side panel.
- Locate the motherboard tray and align the motherboard with the mounting holes.
- Secure the motherboard to the tray with screws.
- Install the processor into the CPU socket.
- Install the memory modules into the memory slots.
- Install the expansion cards into the expansion slots.
- Connect the storage devices to the storage connectors.
- Connect the power supply to the motherboard.
- Close the computer case and power on the system.
When installing the motherboard, it is important to take precautions to prevent damage. This includes handling the motherboard by the edges, avoiding touching the components, and using an anti-static wrist strap.
Connecting Peripherals and Components

Once the motherboard is installed, you can connect the peripherals and components that you want to use. These may include:
- Keyboard
- Mouse
- Monitor
- Speakers
- Printer
- Scanner
To connect a peripheral or component, consult the documentation that came with the device. In general, you will need to connect the device to the appropriate port on the motherboard. For example, you would connect a keyboard to the USB port on the motherboard.
When connecting peripherals and components, it is important to manage the cables properly. This will help to improve airflow and prevent the cables from becoming tangled.
Troubleshooting Common Motherboard Issues: Testout 3.3.7 Choose And Install A Motherboard
If you are experiencing problems with your motherboard, there are a few common issues that you can troubleshoot:
- Boot failures: If your computer is not able to boot, the problem may be with the motherboard. Try resetting the BIOS to its default settings.
- Hardware conflicts: If you are experiencing hardware conflicts, the problem may be with the motherboard. Try updating the BIOS to the latest version.
- Overheating: If your motherboard is overheating, the problem may be with the cooling system. Try cleaning the heatsink and fan.
If you are unable to resolve the problem yourself, you may need to consult with a computer technician.
Clarifying Questions
What is the primary function of a motherboard?
The motherboard serves as the central hub of a computer system, connecting and facilitating communication between all its components, including the processor, memory, storage devices, and peripherals.
How do I determine the compatibility of a motherboard with my existing components?
Consult the motherboard specifications to verify compatibility with your processor’s socket type, chipset, and other crucial factors. Additionally, check for compatibility with your memory modules, storage devices, and expansion cards.
What are some common troubleshooting tips for motherboard issues?
Ensure proper seating of all components, check for loose connections, update drivers and firmware, and consider resetting the BIOS settings to default values if necessary.